

Introduction
Installing a printer on your device can sometimes feel like a challenge, but it doesn’t have to be! Whether you’re setting up a printer for the first time or connecting it to a new device, we’ve broken down the process into easy-to-follow steps. Let’s get your printer up and running in no time.
Understand Common Printer Setup Issues
Printers may not connect due to a variety of reasons: incorrect drivers, connection issues, or printer settings not configured properly. Thankfully, most of these problems can be resolved quickly with a few troubleshooting steps.
Step 1: Check the Printer’s Power and Connections
Ensure your printer is plugged in and powered on. If it’s a wired printer, check that the USB or Ethernet cable is properly connected. For wireless printers, make sure it is connected to the Wi-Fi network.
Step 2: Install Printer Drivers and Software
Most printers require specific drivers to communicate with your device. Check the printer’s manual or visit the manufacturer’s website to download the necessary drivers for your operating system (Windows, macOS, or Linux). Installing the driver ensures your computer can properly detect and communicate with the printer.
Step 3: Connect the Printer to Your Device
- For USB Printers: Plug the USB cable into the printer and your computer. The operating system should automatically detect the printer and begin installation.
- For Wireless Printers: Follow the on-screen instructions to connect your printer to your Wi-Fi network. You may need to enter your Wi-Fi credentials directly on the printer or use a companion app to complete the setup.
Step 4: Set the Printer as Default
Once the printer is installed, go to your device’s settings and ensure it’s set as your default printer. This step makes sure your device sends print jobs to the right printer.
For Windows: Go to “Settings” > “Devices” > “Printers & Scanners,” then select your printer and click “Set as Default.”
For macOS: Go to “System Preferences” > “Printers & Scanners,” select your printer, and click “Set as Default Printer.”
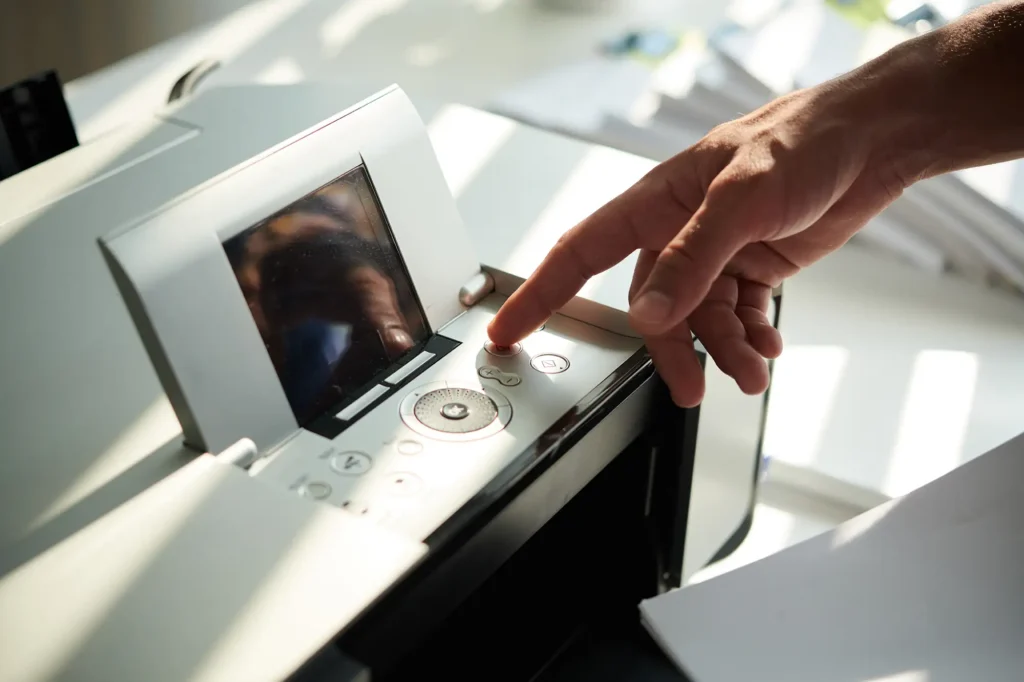
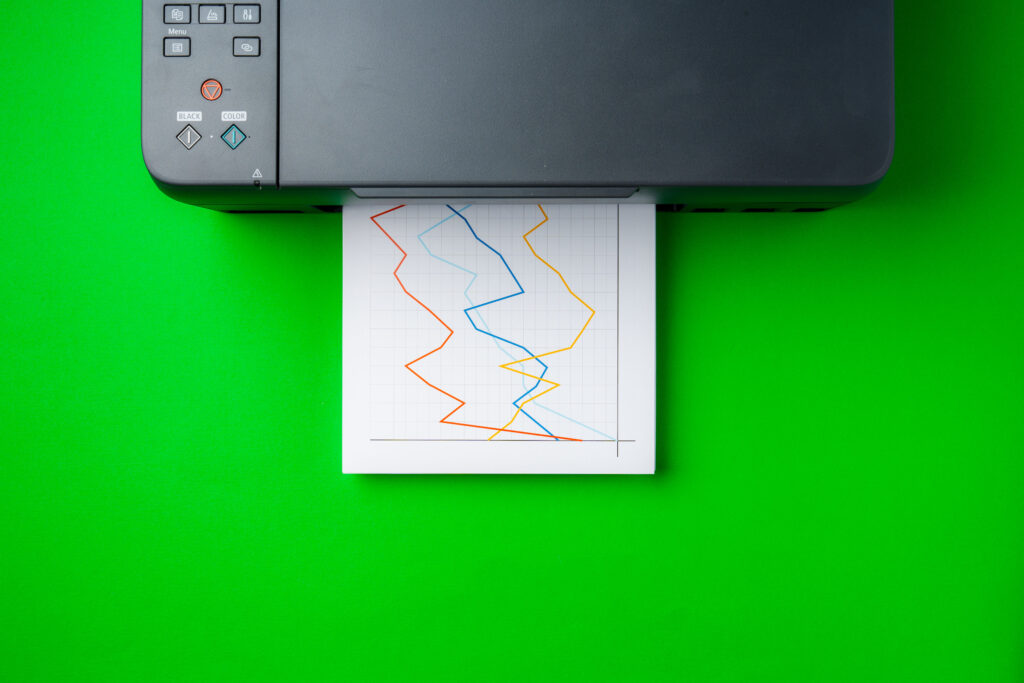
Step 5: Test the Printer
After installation, print a test page to ensure everything is working correctly. Check for common issues like low ink, paper jams, or misaligned print heads if the printout doesn’t look as expected.
Conclusion
That’s it! Your printer is now set up and ready to use. If you run into any issues during installation or encounter problems down the line, don’t hesitate to reach out to Computronic. Our technicians are here to assist you and ensure your printer works smoothly with your device.